For many parents, beginning solid foods is one of the most stressful times. There are worries about allergies, choking, pickiness, and just what the heck to feed that baby! But instead, look at it as a chance to have fun with food. Exploring different tastes, colors, and textures with your little one, teaching them about nutrition and healthy eating, etc. Many parents go the jars-of-baby-food-route, many go the homemade-purees route, and some skip over baby food altogether!
In my next installment of
Feeding My Family, I'm touching on introducing solid foods to babies and then what to feed them as toddlers. I am obviously not a doctor or a nutritionist, or really even an expert. But I do have four kids, and have been through the stages several times, adjusting my philosophy and approach each time. Therefore, I do (humbly) think I have some experience to share, so here goes. Get ready, because this is a long one!

Caroline was my first child, and as typical first time parents, we wanted nothing but the best (i.e. the most work possible, of course). I made all of her baby food from scratch, using organic produce. Was it doable? Yes, at the time. Sometimes I would make several batches of purees over the weekend, but most of the time I just did a batch every other night while I made dinner or after she went to bed. I didn't buy any fancy equipment or food storage system. I steamed the veggies and then used my food processor to puree them, portioned them into ice cube trays to freeze, then popped them out into freezer bags for storing. I never spent more than 10 minutes on any one puree. Once I had a pretty good stash of different fruits and veggies, I'd mix and match for her meals. Blueberries + bananas, zucchini + corn, carrots + broccoli, peas + green beans, etc.

There are many many resources for homemade baby food on the web, so instead of rehashing the same info, I'll just share with you some great ones that have guidelines and more ideas:
Wholesome Baby Food
Annie's Eats
Homemade Baby Food Recipes
Weelicious
Top 100 Baby Food Purees - this was my #1 go-to resource, and used it almost everyday. Highly recommend this book.

With all that said, there is absolutely nothing wrong with buying baby food, but I will say that it is much more expensive. Buying produce for baby food is much cheaper than buying jars, not to mention more eco-friendly. I did the calculations for carrots when I first started making my own baby food, and if I recall correctly, a jar of organic carrot puree was around $1, and I could make 24 servings for $3. The savings are huge, but you are having to put more work into it. I am a stay at home mom, and I had the time to spend making her food. Everyone's situation and priorities are different, and we all just do the best we can. With that said, when we traveled I bought the Plum Organics pouches and used those, and they were great. I also bought the pouches when we had a babysitter or were going out, and it was always nice to have a few on hand just in case. I used prepared baby foods quite a bit with Smith when I was pregnant with the twins and in the throes of morning sickness. So much as looking at a vegetable made me want to puke. You've gotta do what you've gotta do.

Buy Buy Baby runs sales pretty often, so I use that as an opportunity to stock up. I actually still like to keep these on hand because Smith can be pretty picky, but he loves pouches. So when I'm desperate for him to eat some veggies, I turn to those.
On to
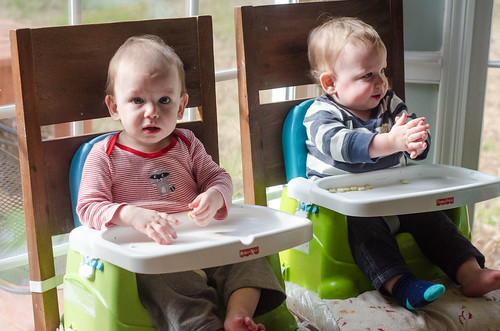
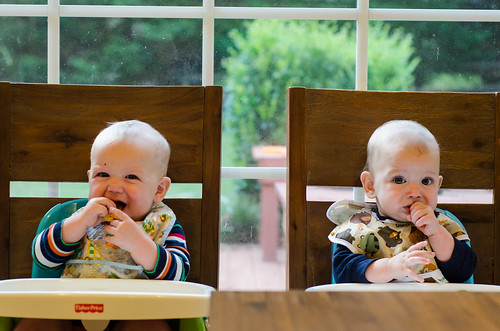
baby-led weaning. This is basically a weird name for "feeding your baby whatever you eat." I was super paranoid about choking, and didn't attempt this with Caroline or Smith. We did purees with them until about 9-10 months, and then introduced soft solid foods, gradually working our way up to "real" food by the time they were a year. For the twins, it got to be too much to feed them purees while keeping Caroline and Smith happy at dinner, not to mention eating dinner ourselves. So around 8 months, we just quit the purees and starting feeding them from our plates. We just pinched off tiny pieces and either fed them directly or put it on their trays. It was definitely a learning process for us all, but it worked out really well in the end. Another bonus is that feeding themselves and picking up food is wonderful for the development of their fine motor skills! If you want more info on baby-led weaning, check out these resources:
Simple Bites
Cook Like a Champion
Baby Led Weaning
Now. Onto what to actually feed them! As my kids have grown, we've discovered many foods that are perfect for beginning eaters, and even into toddlerhood. Here is a list of many of the foods that I keep in heavy rotation for Henry, Tucker, and Smith. I will be doing separate posts for breakfast, lunch, and snacks, and will go into more detail and specifics then.
Fruits and Veggies:
- frozen peas - perfect for little fingers, and great practice for their fine motor skills
- cinnamon-baked apples (huge hit with all the kids - toss peeled apples slices with cinnamon and a little butter, then bake at 400 until they are softened).
- steamed broccoli and cauliflower
- roasted sweet potato and butternut squash cubes
- cheerios and/or puffs
- avocado
- wedges of watermelon (I always keep a big bowl of watermelon in my fridge during the summer)
- applesauce pouches
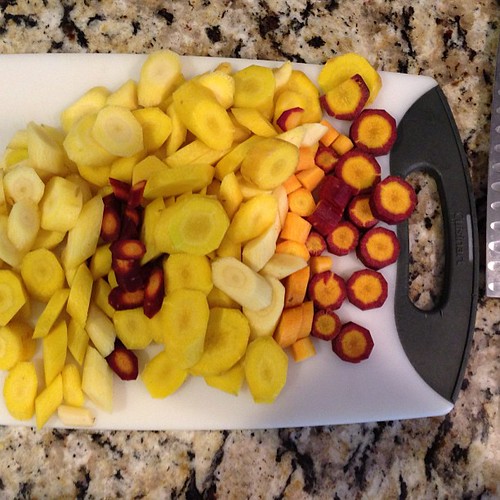
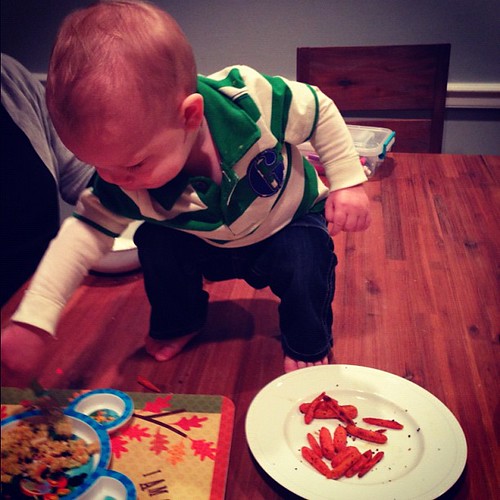
- roasted or steamed carrots
- fresh berries
- clementines
- lima beans
- sweet potato fries and/or sweet potato tater tots
- bananas
- dried fruit (once they have molars)
- pan-toasted okra (toast okra rounds in a dry nonstick pan over medium heat, tossing often. Season with salt and pepper).
- corn on the cob
- apple "donuts" (apples sliced into super thin rounds core poked out with a small cookie cutter. Sometimes served plain, sometimes made into a sandwich with peanut butter).
- slices of pears (great for teething babies!)
- cantaloupe
Meats, Protein, and Main Dishes
- cheese toast
- gnocchi and pasta
- shredded chicken or pork
- chicken-apple sausage
- dried mini ravioli from Trader Joe's (tossed with frozen peas, butter, and parmesan, this is one of their favorite meals, and it comes together so quickly. Perfect for when other plans fall through or you don't have a meal already planned).
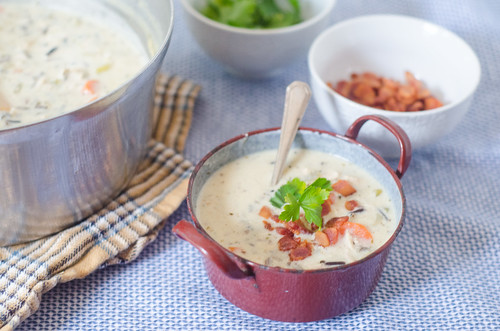
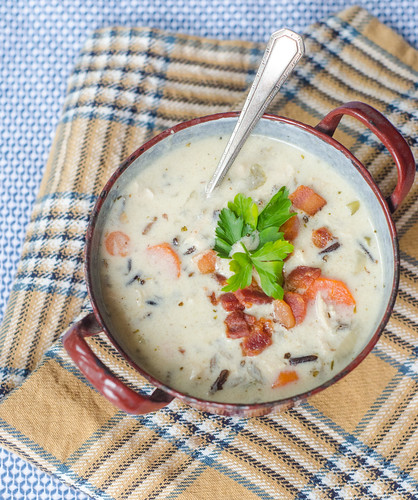
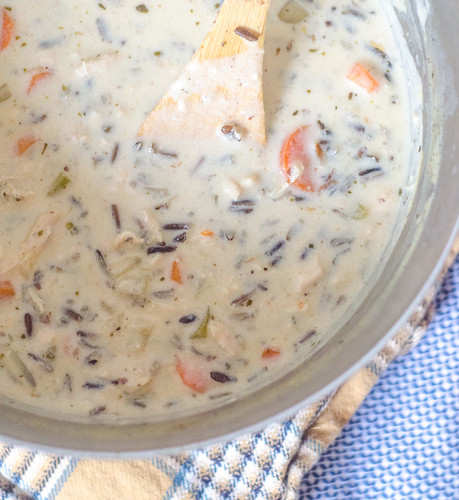
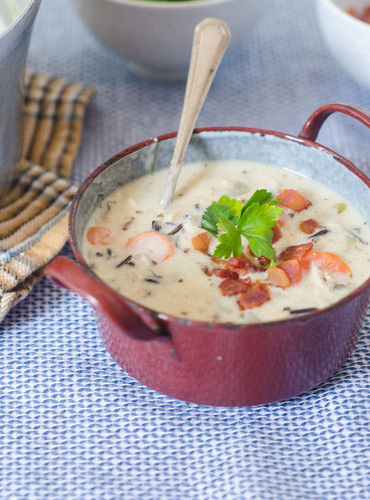
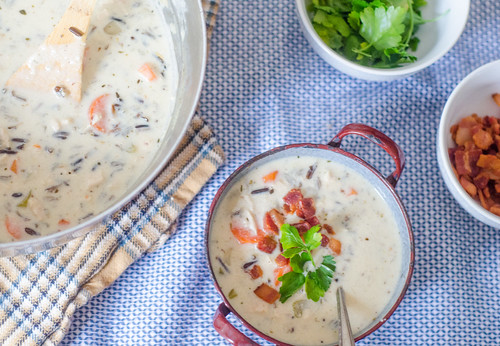
- the meat and veggies from soups - soft, and the perfect texture for early eaters. Use a fork or small strainer to drain off the liquid before serving.
- meatballs, chopped into bite-sized pieces
- hummus pinwheels
- quesadillas - use any cheese and leftover meat!
- turkey rolls (roll a slice of deli turkey around a piece of cheese or string cheese)
- lentil soup
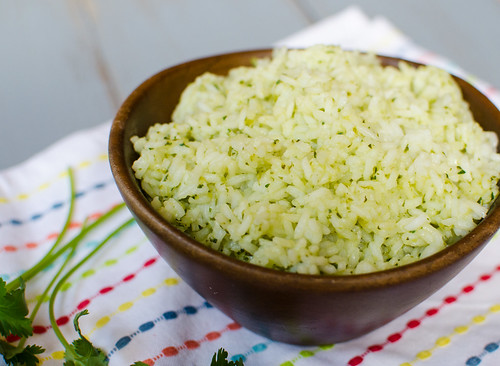
- risotto
- frozen veggie burgers (Amy's organics brand is my favorite)
- halibut and tilapia, flaked into bite-sized pieces. Some kids love salmon, but the flavor is a little strong for others.
- chicken pot pie (fed them the filling with a spoon, then let them eat the crust on their own).
- thin-crust pizza (and teething babies loves gnawing on the crust!)
- hash browns
- hummus + pita bread
- fried or hard-boiled eggs, chopped into bite-sized pieces
- beans (black, pinto, red, black-eyed peas, white/canellini, chickpeas, etc)
Dairy
- "Yogurt Pops" - tubes of yogurt - frozen, then eaten like a popsicle.
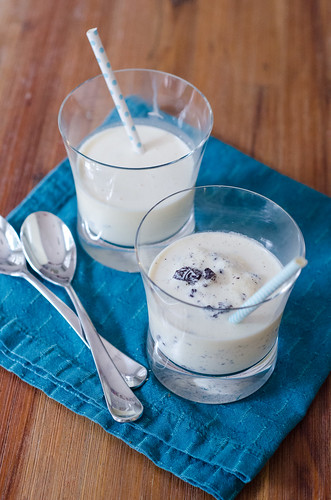
- smoothies (great way to get some extra veggies into their diet - will touch on this more when I talk about picky eaters)
- string cheese
- cheese toast, cut into small pieces, or use a cookie cutter to make fun shapes
If you have any ideas or suggestions, feel free to leave them in the comments - I want this list to be a resource for parents, and would love to get some new ideas myself! Feedback is always welcome!