Well, that's a wrap for Summer 2017. Today was the big day -- three of the kids went back to school, and Smith even started Kindergarten! This afternoon, everyone bounded off their buses with big smiles on their faces and good stories to tell, so overall it was a successful day. Besides early mornings and new shoes, back to school also means that it's back to packing lunches for this mom. By the end of the school year, I'm usually pretty tired of it and lunches tend to get a bit more lazy and standard, but I'm always enthusiastic and excited to pack fun lunches for at least the first few weeks of school ;)
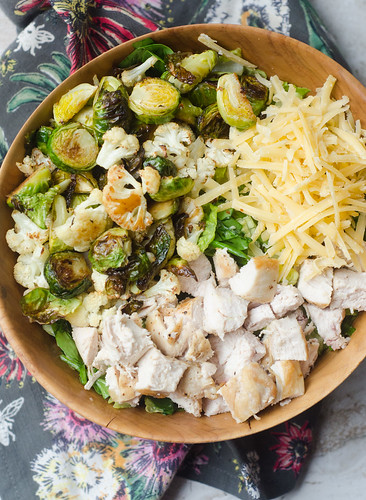
This chicken salad is one of my favorite lunches or easy dinners. And it swings both ways. For those of you joining me in back to school lunch-packing, this salad is a great choice - make a big batch over the weekend, and pack it in lunches all week long. It's great with corn on the cob and watermelon...helps the kids hold on to that last bit of summer ;). And if your'e still in summer-mode, this makes a great dinner to eat at the pool. I pack the biscuits and chicken salad separately, then when everyone is ready to eat just build the biscuit sandwiches.
I'm a big fan of both BBQ flavors and chicken salad, so I honestly cant believe it's taken me this long to combine the two. But have no fear, this chicken salad will be on heavy rotation for a long time.

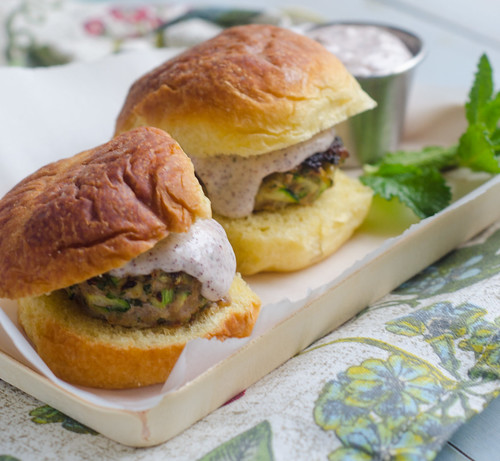
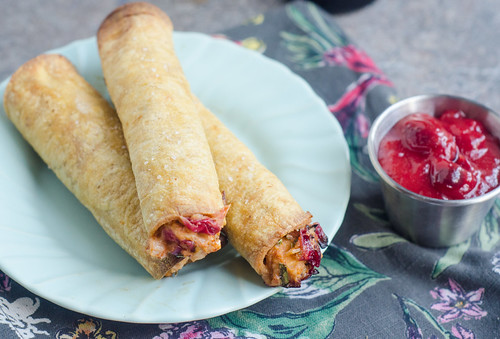
BBQ Chicken Salad Biscuits
I use my usual recipe for flaky buttermilk biscuits here, with a handful of cheddar mixed in. Any biscuit recipe you love will work though.
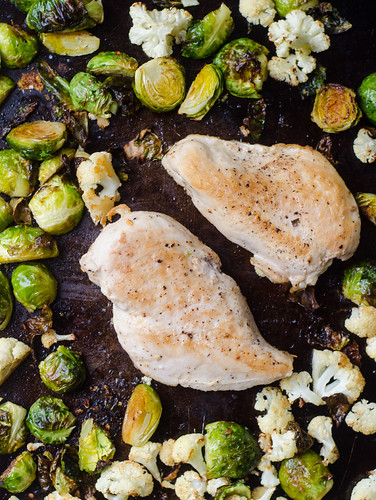
- 3-4 cups chopped or shedded chicken (or 1 rotisserie chicken, pulled and shredded)
- 2 Tbs very finely diced red onion
- 1 scallioon, thinly sliced
- 2 Tbs minced fresh parsley
- 1 Tbs apple cider vinegar
- 1/3 cup mayonnaise
- 1/4 cup BBQ sauce
- dash of hot sauce (plus more to taste)
- 1/2 tsp smoked paprika
- 1 tsp honey
- salt and pepper to taste
Combine all the ingredients in a large bowl and stir well to combine. Taste and season with salt and pepper as needed. If the chicken salad is too dry, add extra mayo or bbq sauce.
To serve, split the biscuits in half, scoop the chicken salad on, and close to make a sandwich. A slice of tomato or shredded lettuce also goes really well in. the sandwiches.