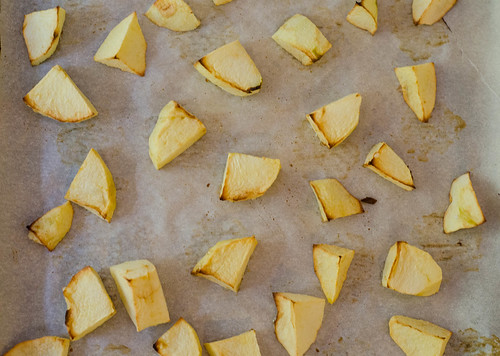
I know it's a super popular regional thing, but for some reason I just can't really get behind apple pie with cheddar cheese. Don't get me wrong - I love apples and cheddar together - on sandwiches, as a snack, or in a salad. But I have some sort of a mental block against trying the combo in a pie. What I don't have a mental block against, however, is the apple-cheddar combo in a scone. The base of the scone is soft, tender, and buttery, with a subtle cheddar flavor. What makes these scones truly special, however, are the roasted apples. You peel and roughly chop apples, then roast them to concentrate to flavor and cook off excess moisture. They are added to the dough, and you are rewarded with little bursts of sweetness to balance out the more savory scone.
I've taken to only baking up a few scones anytime I make a batch, and freezing the rest to enjoy on a weekday morning. It's such a special treat to have a freshly baked scone on a random morning!
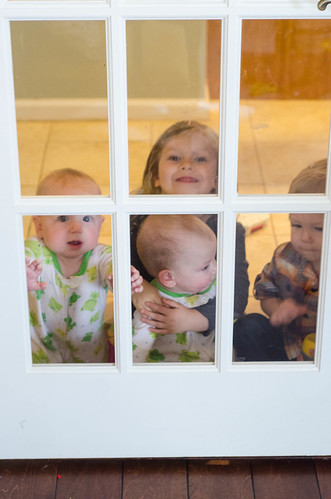
So side note: as I mentioned, I only baked up a few of these right off the bat, then smuggled them into the dining room to photograph before releasing them to my little ones.... I look through the door as I'm snapping some shots, and this is what I see. :) Never a dull moment in our house! For the record: the scones were devoured in a matter of minutes by my crew.
Apple pie with cheddar: yay or nay?
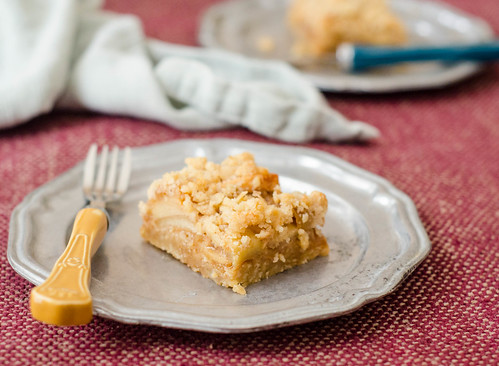
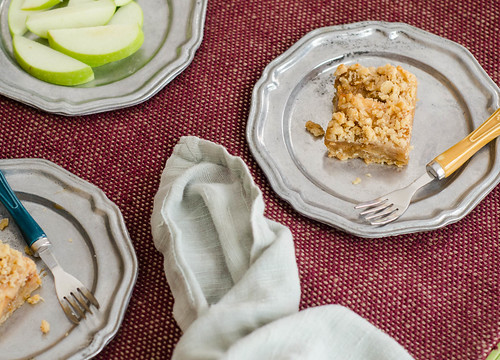
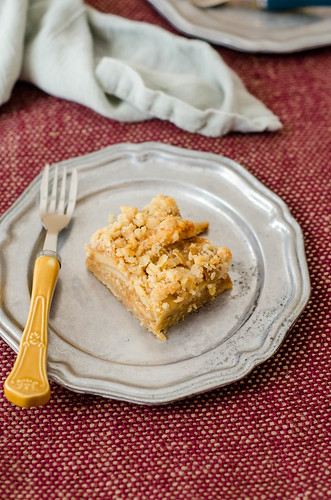
Apple-Cheddar Scones
adapted from The Perfect Finish via Smitten Kitchen and Smells Like Home
makes 6 large scones
Preheat oven to 375 degrees F, and line a baking sheet with parchment paper.
Peel, core, and chop each apple into about 16-24 pieces (roughly chopped, really). Toss them onto the baking sheet, spreading them out into one layer. Bake for 20 minutes until they are slightly browned and look like they are starting to dry out. Leave the oven on.
Let apples cool completely – either at room temperature for about an hour, or if you are in a hurry, pop them in the freezer, baking sheet and all.
While the apples roast and cool, whisk the flour, sugar, baking powder, and salt together in a medium bowl; set aside.
After the apples cool, add them along with the butter, cheese, heavy cream, and one egg to the bowl of a stand mixer fitted with the paddle attachment. Sprinkle the flour mixture over the ingredients in the bowl. With the mixer on low speed, mix the ingredients until they just come together to form a dough – do not overmix. The butter will still be in large-ish chunks and the dough will be sticky. If you don’t have a stand mixer, you can do this step by hand using your fingers or a pastry cutter to work the butter into the flour. This could also be done in a food processor, fitted with the dough-blade.
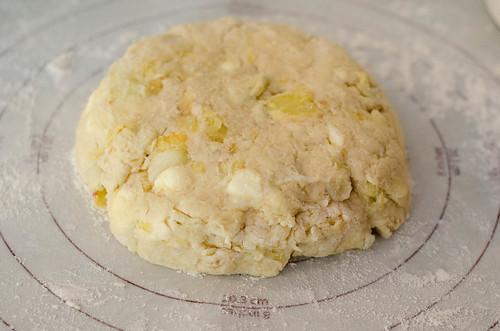
Turn the dough out onto a well-floured surface and sprinkle the top of the dough with more flour. Lightly flour your hands, then work the dough together into a disk then flatten disk to a 6-7 inch circle, about 1 1/4 inches high. With a floured knife or bench scraper, cut the dough into 6 triangles.
Line the now cooled baking sheet with a new piece of parchment paper or grease it with butter. Transfer the dough triangles to the baking sheet, leaving at least 2 inches between each piece.
Beat the remaining egg and a pinch of salt together in a small bowl. Brush the tops of the scones with the beaten egg then sprinkle some sugar on the top of each piece. Bake for 25-30 minutes, or until the tops are golden brown.
Allow the scones to cool at least 10 minutes before serving. The scones are best served warm and within 1 day of making them. To freeze, arrange the scones in a single layer on a parchment-lined baking sheet, move to the freezer until they are frozen solid. Transfer the scones to a freezer bag, and when you're ready to eat them, just add a few minutes to the baking time.