This recipe was born from a big bowl of cabernet-braised short ribs sitting in my fridge. I made a big batch for a shower I threw over the weekend, and I wanted to do something noteworthy with the leftovers. I thought about pasta, pot pie, mac and cheese… and then inspiration hit: cheesesteak sandwiches. But not just any cheesesteaks. They needed to be elevated to a level worthy of using these precious short ribs. So I added wild mushrooms. And Gruyere cheese. And then I took a bite and swooned. And then Joey swooned. And then Caroline swooned. And then Smith threw his on the floor. And Joey picked it up and ate it. No wasting short rib sandwiches! #truth. #notashamed
I served these sandwiches with Parmesan-Truffle Oven Fries and some fresh fruit, and we felt like we were eating dinner at a trendy gastropub.
Like I said, I used leftover short ribs for these sandwiches, and it made for a super quick and easy weeknight meal. But if you don't happen to have a bunch of short ribs hanging out in your fridge (who are you?), then you can definitely braise some up on a Saturday or Sunday then have them ready to go for some quick meals throughout the week. Or next time you make short ribs, throw a few extra in there, then shred them and freeze them. I cannot think of any situation in which having short ribs on hand would be a bad thing.
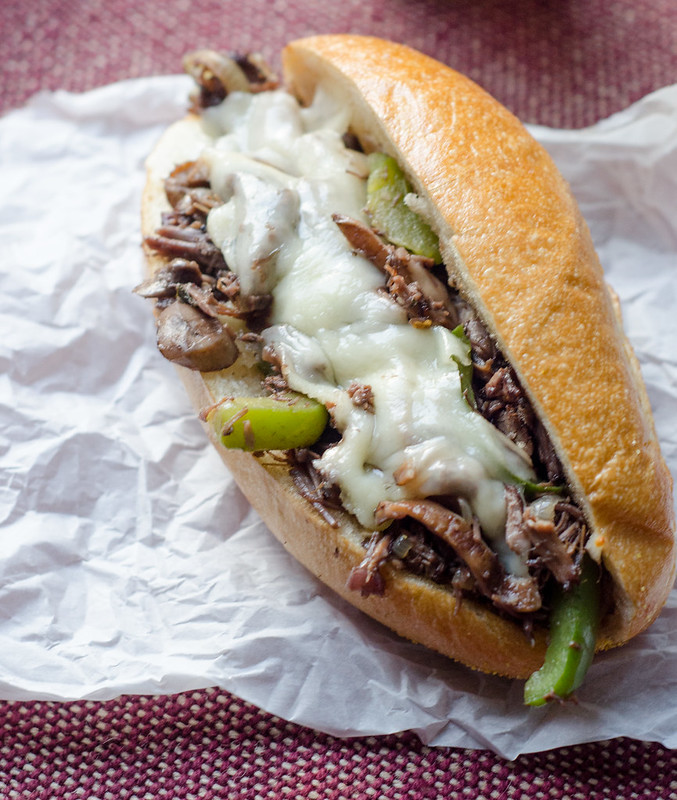
Short Rib and Wild Mushroom Cheesesteaks
- 1 Tbs butter
- 1 medium yellow onion, halved and thinly sliced
- 1 small green bell pepper, seeded and thinly sliced
- kosher salt and freshly ground black pepper
- 5 oz wild mushrooms (shiitakes, chanterelles, oyster, etc. or a mixture), thinly sliced
- 2 cloves garlic, minced
- 3 cups shredded braised short ribs
- 1/4 cup dry red wine (or beef broth, or a dark beer)
- 4 sandwich rolls, halved and buttered
- 4 slices Gruyere or sharp provolone cheese
Preheat the oven to 375 degrees.
In a large skillet, melt the butter over medium heat. Add the onions and bell pepper, and cook, stirring often, until they begin to soften, about 5 minutes. Add the mushrooms and 1/2 teaspoon of salt. Saute, stirring often, until the mushrooms are softened and cooked through, about 6 to 8 minutes.
Stir in the garlic and stirring constantly, cook an additional 30 seconds.
Gently fold in the short ribs, and cook until they are heated through, 2 to 3 minutes. Stir in the wine, scraping up any browned bits from the bottom of the pan. Taste the mixture and season with salt and pepper to taste.
Divide the filling evenly among the sandwich rolls, then top each with a slice of cheese.
Close the sandwich and bake 5 to 6 minutes, or until the roll is hot and the cheese is melted. Serve immediately.